Digital Whiteboards and Tools for Online Lessons: How to Use Them Without the Chaos
Published on August 10, 2026 · Clases Personalizadas Editorial
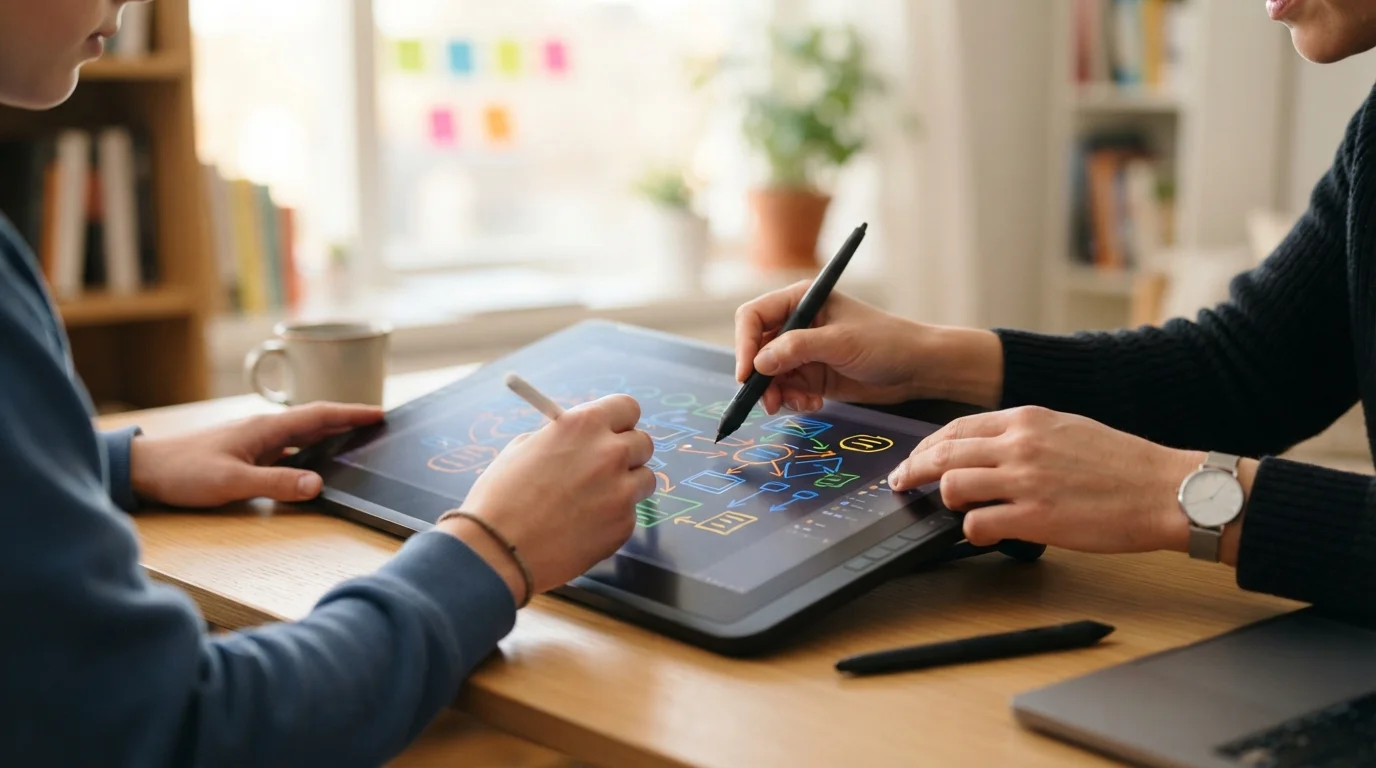
A digital whiteboard used well turns an online lesson into an interactive session; used badly, it becomes minutes lost between open tabs. The difference is not the app you pick, but how you prepare it, how you get the student to use it and how you save what happened in class.
Why a Digital Whiteboard Makes the Difference in an Online Lesson
In a one-to-one tutoring session over video call, the digital whiteboard plays the role the physical board used to play in a classroom: it lets you show, write and structure what would otherwise only be said. A concept that gets drawn is understood faster than one that is only explained, especially in visual subjects like maths, physics, languages or music.
The whiteboard also turns the student into a participant. If they only look at your face for half an hour, their attention drifts; if they write, drag elements or solve an exercise on the board, they engage with the lesson and retain far more. Private lessons benefit precisely because of this: the whole board belongs to the student.
And there is a benefit you notice after class: the whiteboard leaves a record. The notes built together during the session are worth more than any summary you send afterwards, because they reflect the student's actual reasoning and the mistakes corrected along the way.
How to Choose Your Tool (Without Going Crazy Testing Options)
There are dozens of free and paid online whiteboards, and testing them all is the best way to end up using none. Instead, define the bare minimum first and pick a single option that covers it.
The criteria that actually matter
Before comparing flashy features, make sure the tool has real-time collaboration, automatic saving, an infinite or paginated canvas and works in the browser with nothing to install. Those four points cover most of the needs of a one-to-one online lesson.
There are free whiteboards built specifically for teachers and students, such as Whiteboard.fi, iDroo or NotebookCast, among others. You do not need the paid plan to start: the basic writing, drawing and sharing features are usually enough for months.
Don't hoard tools
Master one whiteboard and one video platform, and treat everything else as a bonus. Every extra tool you add brings setup time, potential failures and learning curves for you and the student. Simplicity is a teaching feature, not a limitation.
Prep the Board Before Class (10 Minutes That Change Everything)
Most problems with digital whiteboards do not happen during the lesson but before it: the tutor opens the app with the student already waiting and burns the first minutes creating pages and typing exercises from scratch. Ten minutes of preparation remove the chaos.
Create a template for each lesson type
Design a fixed structure you repeat every session: goals at the top, working space in the middle and homework at the bottom. If you teach different subjects or levels, save one template for each and duplicate it when needed. Your student will learn to find their way around the board without you explaining it every time.
Pre-write the exercises you will use
If you already know which exercises or diagrams you are going to work on, write them before the lesson starts. That way class time goes to solving and thinking, not copying statements. You can also leave half a page blank for whatever comes up in the conversation.
Use colours with a system
Keep one colour for headings, another for examples and another for the student's corrections, and stick to that code in every lesson. A board with a consistent palette reads at a glance; a randomly colourful one distracts and confuses.
Rules for Getting the Student to Use the Board
A digital whiteboard where only the tutor writes is a presentation in disguise. To do its job, the student has to use it, and that takes a couple of simple, consistent rules.
Share board control from the start and let the student write, drag and solve. The board belongs to both of you: if they write their own answers, you see their reasoning process and can correct at the exact moment they go wrong.
Ask a question and wait. It is tempting to correct instantly, but if you give time for the student to answer on the board, you learn how they think and they gain confidence. Ten seconds of silence while they write is often the most productive part of the lesson.
Pace the information. A board overloaded with text and drawings overwhelms; when it fills up, open a new page instead of piling on. Keep only what is being worked on right now visible and archive the rest.
What to Do When the Tool Fails (Always Have a Plan B)
Every tool fails at some point: it freezes, loses the connection or the browser restarts at the worst possible moment. Since you cannot prevent it entirely, prepare so it does not interrupt the lesson.
Keep a shared document or chat ready to continue the session if the whiteboard freezes. A document with the same essential content lets you carry on without losing the thread, and you can restore the board afterwards with what was covered.
Save your work often and share the access link with the student from minute one. If the session drops, you can both get back in without depending on you to recover the lesson.
Above all, do not waste time fixing technology in front of the student. Decide within thirty seconds whether to switch tools or continue with plan B, and pick up the explanation. The student remembers the lesson that happened, not the glitch that was solved quickly.
At the End of Class: Save, Send and Archive
The end of the session is where the digital whiteboard proves its long-term value. Save the board as an image or PDF and send it to the student: it turns every lesson into revision material they can check before the next session or an exam.
Archive boards by student and date. Over time you will have a history for each learner that helps you plan the next lesson, review what has been covered and show concrete progress. It is the best retention tool there is: the student can see they are advancing.
Once a month, review which tools you use and what could be simplified. If there are features you have not touched in weeks or a second whiteboard you barely open, drop them. Less is more, in the virtual classroom too.
Conclusion
A digital whiteboard used well makes your online lessons clearer, more interactive and more professional, without needing to become a tech expert. The whole routine fits in four gestures: pick one tool with clear criteria, prepare templates before each class, share control with the student and save the notes when you finish.
Tutors who master their virtual classroom teach better, keep their students and stand out in an increasingly online market. If you already teach over video call and want students to find you, post your free ad on clasespersonalizadas.com and offer online lessons that feel prepared.